How to Install Linux Mint from USB ?
Linux Mint is one of the most popular and user-friendly Linux distributions. It’s fast, stable, and free to use. If you’re coming from Windows, you’ll find its interface familiar and easy to navigate. In this guide, we will walk you through how to install Linux Mint from a USB drive, step by step, even if you’ve never installed an operating system before.
1. What You Need Before You Start
To install Linux Mint, prepare the following:
- USB flash drive — at least 4 GB (8–16 GB is recommended for faster performance).
- A working computer with internet access — to download Linux Mint and the tools you need.
- Linux Mint ISO file — this is the installation image, like a “digital DVD” containing the operating system.
- Bootable USB creation software — for example:
Rufus for Windows
balenaEtcher for macOS or Linux
Backup of your important files — if you plan to erase your current system, all data will be lost.
AlexHost Tip: If you’re using an AlexHost VPS or Dedicated Server, you can also mount the Linux Mint ISO directly in your hosting control panel and install it remotely — no USB required.
2. Download Linux Mint
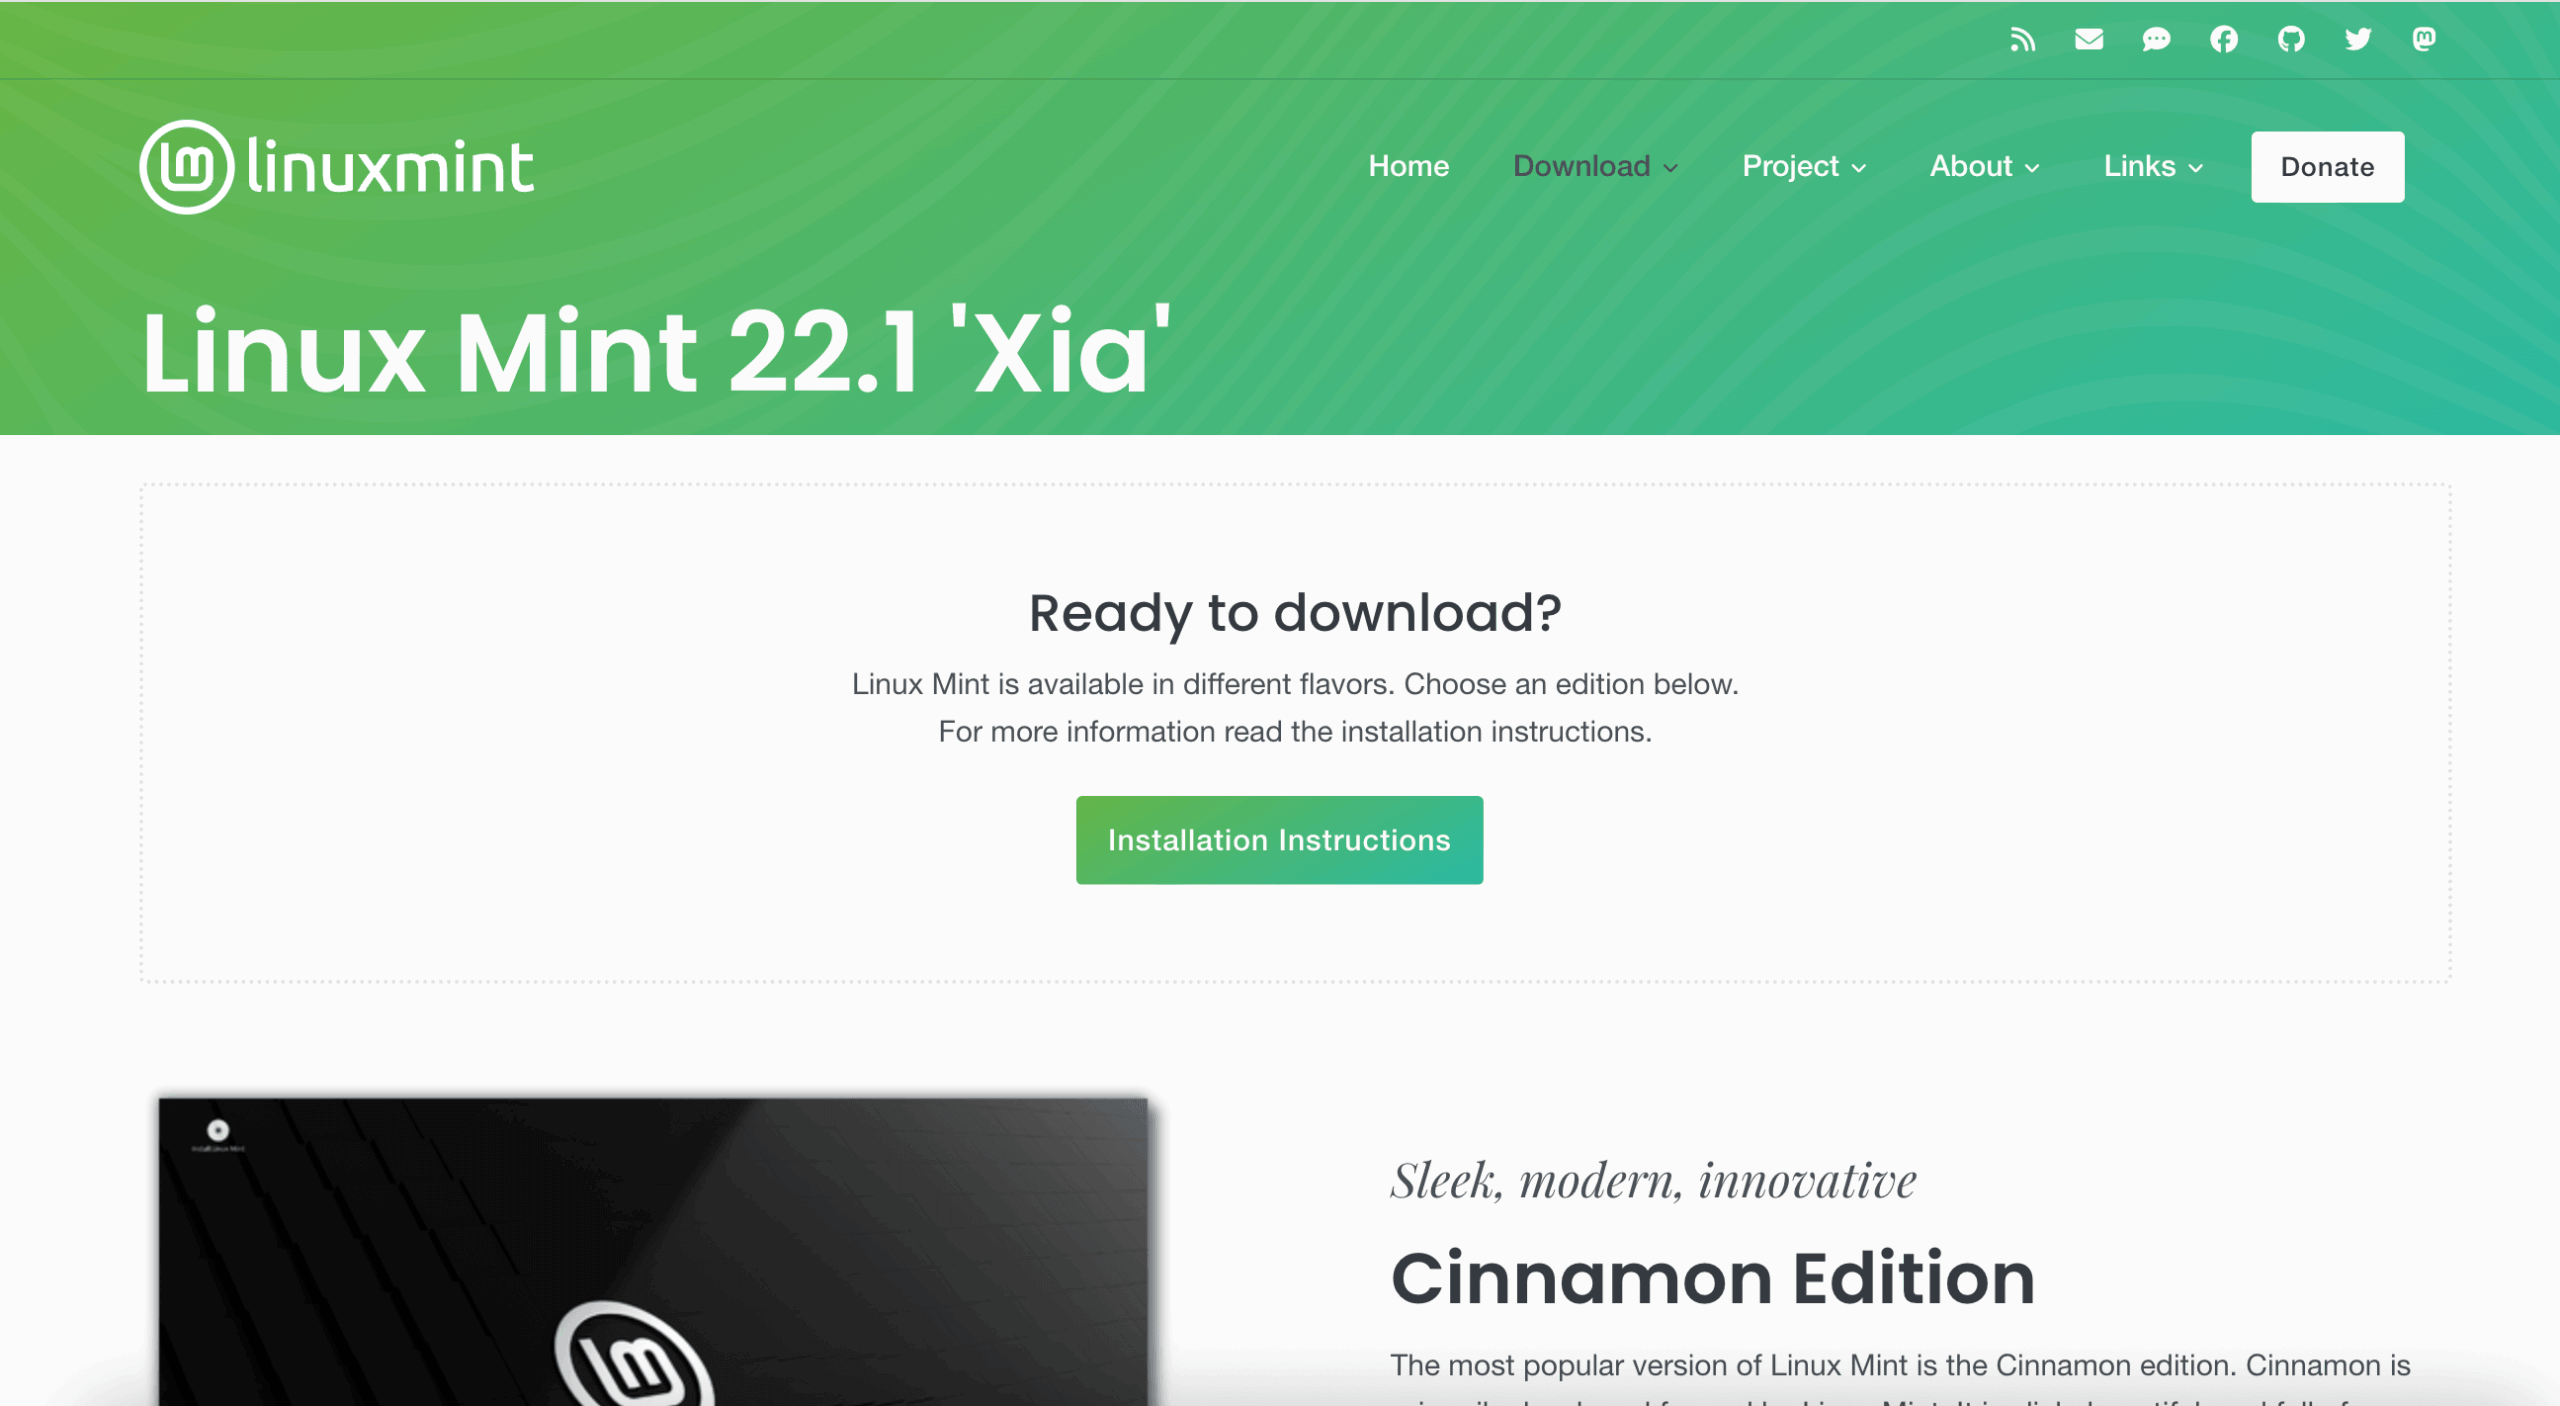
Go to the official Linux Mint website
- Click Download and select a mirror (server) closest to your location for faster speed.
- Save the .iso file to your computer.
3. Create a Bootable USB
A normal USB drive cannot install Linux Mint — it needs to be made “bootable,” meaning your computer can start (boot) from it.
If you’re on Windows (using Rufus):
- Download and open Rufus.
- Insert your USB flash drive.
- In Device, select your USB stick.
- In Boot selection, click SELECT and choose the Linux Mint .iso file you downloaded.
- Partition scheme:
Choose GPT if your PC uses UEFI (most modern PCs).
Choose MBR if your PC uses Legacy BIOS (older PCs).
- Leave other settings as default.
- Click START — confirm that all data on the USB will be erased.
- Wait for Rufus to finish.
If you’re on macOS or Linux (using balenaEtcher):
- Download and open balenaEtcher.
- Click Flash from file and select the .iso file.
- Insert and choose your USB drive.
- Click Flash and wait for the process to complete.
Important: This process will erase all files on the USB drive. Make sure you’ve backed it up.
4. Boot from USB
- Insert the bootable USB into the computer where you want to install Linux Mint.
- Restart the computer.
- Enter the Boot Menu (the key varies by manufacturer):
F12 — Dell, Lenovo, some HP
Esc, F9, F10, or F11 — varies by brand
From the boot menu, select your USB drive and press Enter.
5. Try Linux Mint Without Installing (Optional)
Linux Mint will start in Live Session mode, meaning you can test it without installing.
- Check that your Wi-Fi, sound, keyboard, and display work correctly.
- If everything works, proceed with the installation.
This step is optional, but highly recommended.
6. Install Linux Mint
- Double-click Install Linux Mint on the desktop.
- Choose your language and keyboard layout.
- Connect to Wi-Fi if possible — this allows the installer to download updates during installation.
- Installation type:
Erase disk and install Linux Mint — a clean install, removing all existing data.
Install alongside — keeps your current OS (dual boot).
Something else — for manual partitioning (advanced users).
- Select your time zone.
- Create your user account:
Your full name.
A username.
A password (choose something secure).
- Click Install Now — confirm changes when prompted.
- Wait until installation completes, then click Restart Now.
- Remove the USB when prompted.
7. First Steps After Installation
- Update your system — Open Update Manager and install all available updates.
- Install drivers — Use Driver Manager for graphics, Wi-Fi, etc.
- Customize your desktop — Change themes, icons, and wallpapers.
- Install applications — Use Software Manager to find and install the programs you need.
Final Thoughts
Installing Linux Mint from USB is straightforward if you follow each step carefully. You’ll get a fast, reliable, and free operating system that’s perfect for everyday use, programming, design, or even server management. And if you’d like to run Linux Mint not on your local PC but in the cloud — AlexHost offers high-performance VPS and Dedicated Servers with ISO mounting, so you can install Linux Mint remotely in just a few minutes.


