How to Install Node.js on Ubuntu 22.04
Node.js is a popular runtime environment that allows you to run JavaScript code on the server side. It is widely used for building scalable and high-performance web applications. This guide will walk you through the steps to install Node.js on Ubuntu 22.04.
There are multiple ways to install Node.js on Ubuntu 22.04, including using the default Ubuntu repositories, NodeSource, and Node Version Manager (NVM). We’ll cover all three methods.
Method 1: Install Node.js from Ubuntu Repositories
This is the easiest method and is recommended if you don’t need the latest version of Node.js.
Step 1: Update the Package List
First, update your system’s package index to ensure you have the latest versions available:
Step 2: Install Node.js and npm
Ubuntu 22.04 includes Node.js in its default package repository. To install Node.js and the Node Package Manager (npm), run the following command:
Step 3: Verify the Installation
After the installation is complete, you can check the installed versions of Node.js and npm by running:
This method might not install the latest version of Node.js, but it’s a simple and straightforward process.
Method 2: Install Node.js Using NodeSource PPA
If you need a specific version of Node.js, you can install it from the NodeSource PPA. This method allows you to install the latest LTS or current version of Node.js.
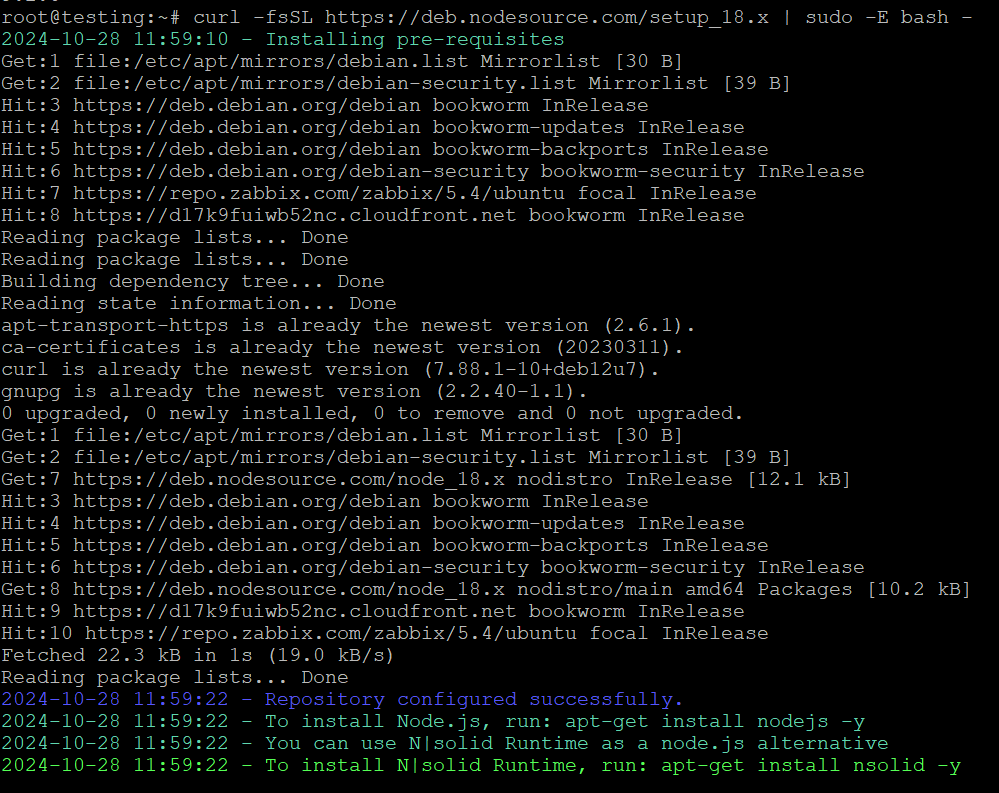
Step 1: Add NodeSource Repository
First, install the PPA for the desired version of Node.js. For example, to install Node.js 18.x (LTS version):
For Node.js 16.x, replace 18.x with 16.x in the above command.
Step 2: Install Node.js
After adding the PPA, install Node.js with the following command:
Step 3: Verify the Installation
Check the installed version of Node.js:
This method ensures that you get the latest version from NodeSource, including any security patches or new features.
Method 3: Install Node.js Using Node Version Manager (NVM)
NVM (Node Version Manager) allows you to install multiple versions of Node.js and switch between them easily. This is the best method if you need to manage different Node.js versions for different projects.
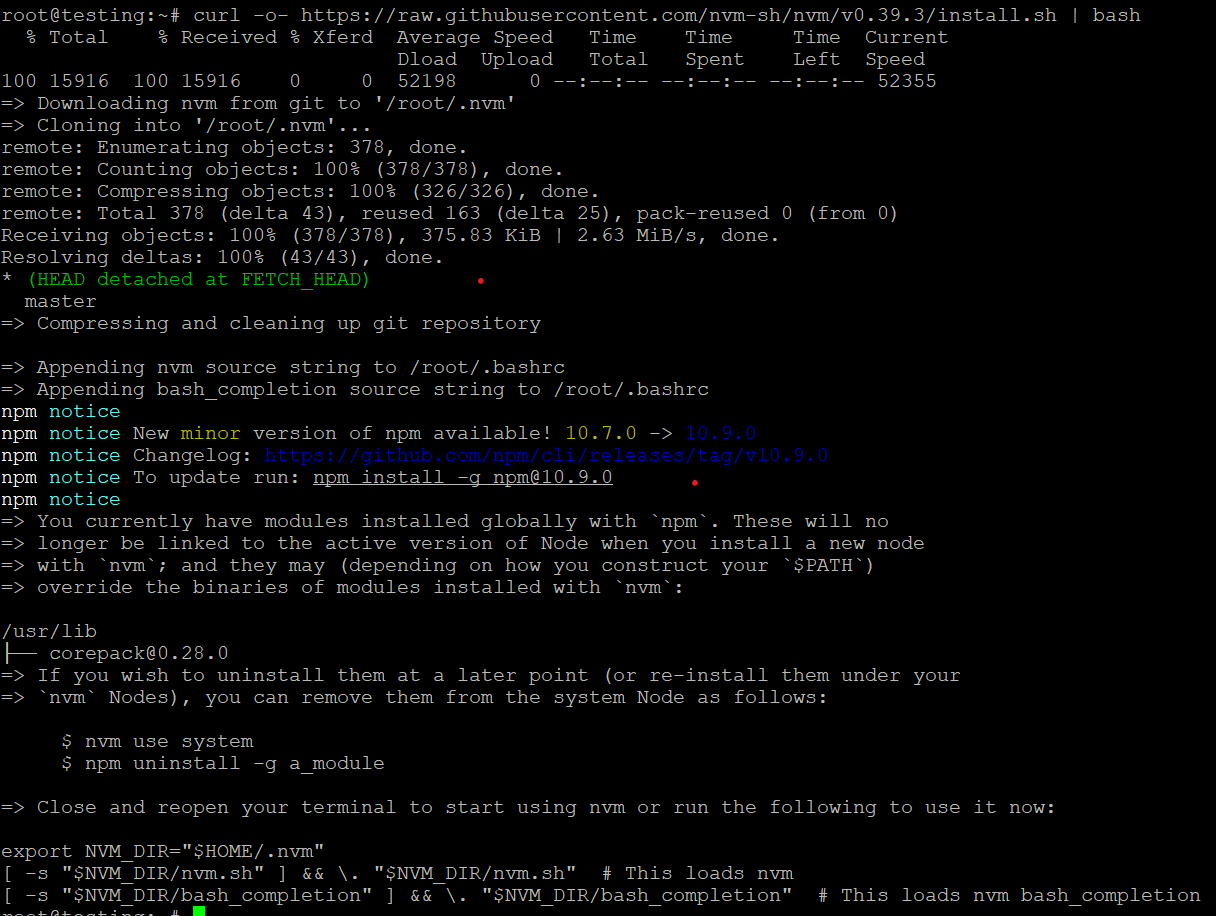
Step 1: Install NVM
To install NVM, use the following command:
After the installation, either restart your terminal or run the following command to make nvm available:
Step 2: Install Node.js Using NVM
Once NVM is installed, you can install any version of Node.js using the following command:
This command installs the latest version of Node.js. If you want to install a specific version, use the version number:
You can also view all available versions of Node.js by running:
Step 3: Set the Default Node.js Version
To set a default version of Node.js, use:
Step 4: Verify the Installation
To verify the installed version of Node.js and npm:
With NVM, you can switch between different Node.js versions as needed, making it an excellent option for developers working on multiple projects.
Installing npm (Node Package Manager) Separately
In most cases, npm is installed automatically with Node.js. However, if it’s not installed, you can install it manually using the following command:
To check the installed npm version:
Uninstalling Node.js
If you want to remove Node.js from your system, you can use the following command:
For NVM users, you can uninstall a specific version of Node.js with:
Conclusion
You now know three different methods to install Node.js on Ubuntu 22.04: using the default Ubuntu repositories, installing from the NodeSource PPA, and using Node Version Manager (NVM). Depending on your project needs, you can choose the method that suits you best.
- For a quick and straightforward installation, the default Ubuntu repositories are a good option.
- If you need the latest version, the NodeSource PPA is ideal.
- For managing multiple versions, NVM is the best solution.
Once Node.js is installed, you can start building server-side applications or install packages using npm to enhance your development process. Happy coding!


