 English
 Русский
  Română
  Deutsch
  Français
  Türkçe
  Español
  Português
  Українська
  български
  Polski
  Indonesia
  中文 (中国)


Detailed instructions for installing OpenVPN on a Linux server
OpenVPN is a powerful and flexible tool for creating secure VPN tunnels. This instruction will help you install and configure OpenVPN on a server running Linux (e.g. Ubuntu, Debian, CentOS).
Update system packages
Before starting the installation, update the system package lists and install all available updates. For Ubuntu/Debian:
apt update
 apt upgrade -y
For CentOS
yum update -yInstall OpenVPN and Easy-RSA
To create keys and certificates, you will need the Easy-RSA utility. We will install OpenVPN together with it.
For Ubuntu/Debian:
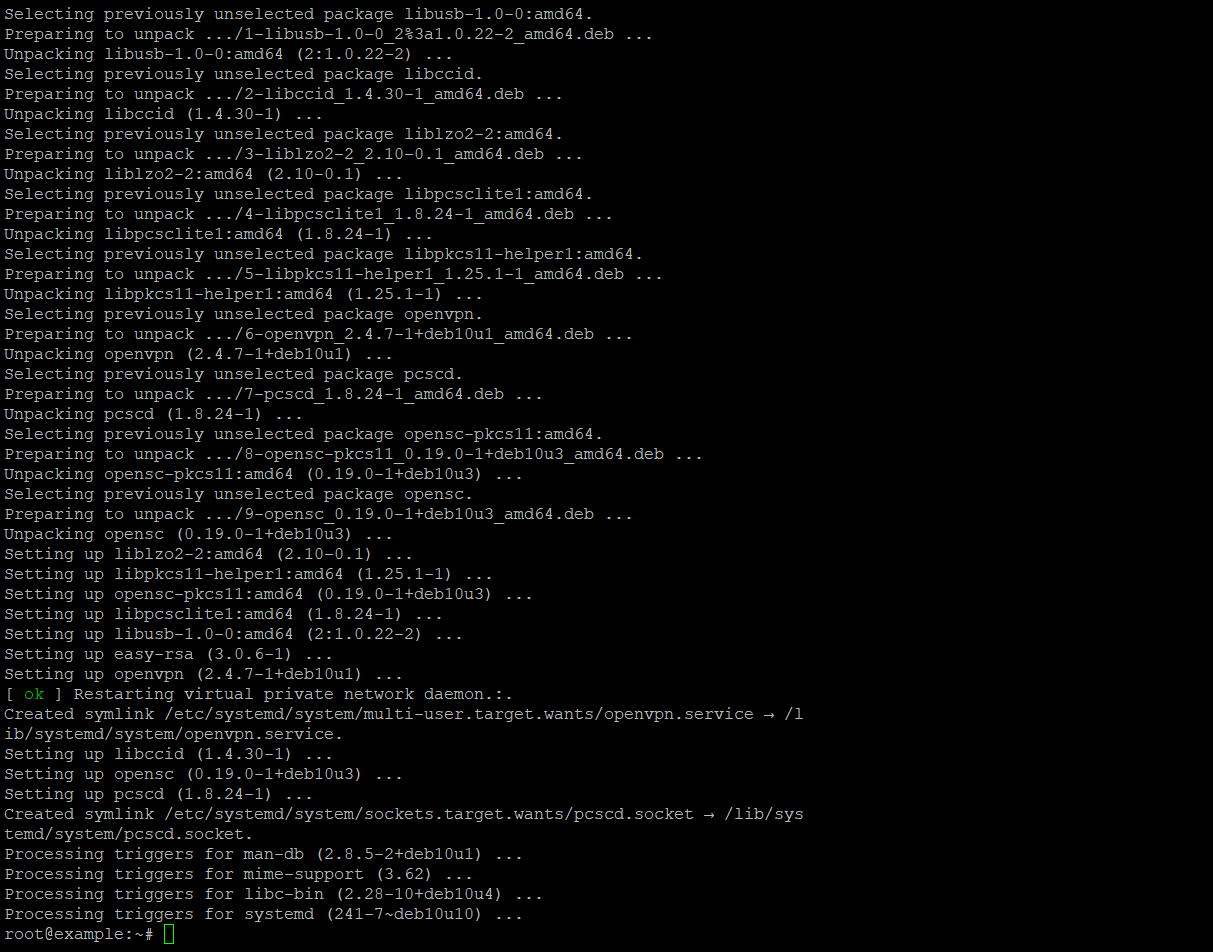
apt install openvpn easy-rsa -yFor CentOS:
yum install epel-release -yyum install openvpn easy-rsa -ySuccessfully installation will be like this
Set up PKI (Public Key Infrastructure)
Create a directory where all the necessary files for creating certificates will be stored:
make-cadir ~/openvpn-cacd ~/openvpn-ca
Easy-RSA Configuration
Edit the vars file to specify the settings for creating certificates:
nano varsChange the following lines to your values:
set_var EASYRSA_REQ_COUNTRY "enter YOUR_COUNTRY"
set_var EASYRSA_REQ_PROVINCE "enter YOUR_PROVINCE"
set_var EASYRSA_REQ_CITY "enter YOUR_CITY"
set_var EASYRSA_REQ_ORG "enter YOUR_ORGANIZATION"
set_var EASYRSA_REQ_EMAIL "enter YOUR_EMAIL"
set_var EASYRSA_REQ_OU "enter YOUR_ORG_UNIT"- Example.The EASYRSA_REQ_ORG variable is used in the EasyRSA script to set the Organization Name when creating certificates. The value of this variable is specified in the CSR (Certificate Signing Request) and in the certificates that will be created.In this example, the EASYRSA_REQ_ORG variable is set to the string “enter YOUR_ORGANIZATION”. This means that when creating a certificate, this value will be specified in the “Organization Name” field. Usually, instead of “enter YOUR_ORGANIZATION” you enter the name of the organization for which the certificates are created. For example, if your organization is called “ExampleCorporation“, you would change this value to:set_var EASYRSA_REQ_ORG “ExampleCorporatiom”This way, the generated certificates will contain your organization name in the corresponding field.
set_var EASYRSA_REQ_ORG "enter YOUR_ORGANIZATION"
Next, you should load the modified variables. To do this, you need to enter one simple command consisting of only two words:
source varsCreate CA (Certificate Authority)
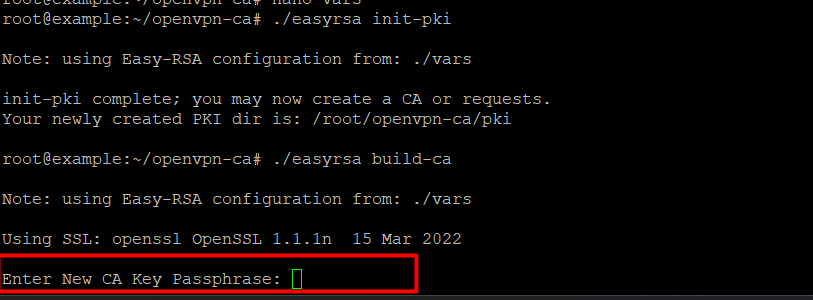
Next comes the difficult and important step! Please make sure you can leave a record of this in your KeePASS or any other reliable password manager! You should initialize the PKI in this step and create a root certificate. This can be done like this:
./easyrsa init-pki
./easyrsa build-caYou will be asked to enter a password for the CA. Make sure you save it and remember it.
Generate keys and certificates
Server certificate and key:
./easyrsa gen-req server nopassSign the server certificate:
./easyrsa sign-req server serverGenerate DH parameters:
./easyrsa gen-dh

Generate HMAC key for TLS authentication:
openvpn --genkey --secret ta.keySetting up the server configuration file
Copy the sample configuration file and edit it:
cp /usr/share/doc/openvpn/examples/sample-config-files/server.conf.gz /etc/openvpn/
gunzip /etc/openvpn/server.conf.gz
nano /etc/openvpn/server.conf
Starting the OpenVPN service
Ensure that OpenVPN starts at boot with the following command:
systemctl enable openvpn@serverSetting up the client file
Copy the client configuration file to your server:
scp user@your-server_ip:/etc/openvpn/client.ovpn ~/client.ovpn- The tests were performed on the IPv4 address – 91.229.239.11. An example of the result of successful command actions is provided below:

Enter the configuration scp user@91.229.239.11:/etc/openvpn/client.ovpn ~/client.ovpn. Then enter the passwd

Edit the client.ovpn file and add the certificates:
<ca>
# paste the contents of the ca.crt file
</ca>
<cert>
# paste the contents of the client.crt file
</cert>
<key>
# paste the contents of the client.key file
</key>
Connecting the client
Import the client.ovpn file into your OpenVPN client on your device and connect to the server.