How to use a Docker file to create a Docker image
Dockerize Your Apps on AlexHost: Mastering Dockerfiles
Why use Docker on AlexHost? A Dockerfile scripts your app’s environment, making it portable and consistent. AlexHost’s high-performance VPS and dedicated servers, with NVMe storage and root access, provide a robust platform to build and deploy Dockerized apps like Node.js or WordPress. This guide explains Dockerfiles and how to create, build, and run them on AlexHost in 2025.
Step-by-step guide to creating a Dockerfile and building an image
Step 1: Create your project
To start, you need a simple application to containerize. For this example, we’ll create a basic Node.js application. If you don’t have Node.js installed, you can follow these steps to create a simple Node.js app.
- Create a project directory:
- Create a package.json file for your Node.js application:
- Create a server.js file:
- Add the following content to the server.js file:
const http = require('http');
 const hostname = '0.0.0.0';
 const port = 3000;
 const server = http.createServer((req, res) => { res.statusCode = 200;
 res.setHeader('Content-Type', 'text/plain');
 res.end('Hello World\n'); });
 server.listen(port, hostname, () => {
console.log(Server running at http://${hostname}:${port}/); });Once you have your main application, the next step is to create a Dockerfile that will be used to build a Docker image for that application.
- Create the Dockerfile in the project’s root directory:
- Add instructions to the Dockerfile:
Here’s a simple Dockerfile for your Node.js application:
FROM node:14   # Use an official Node.js runtime as a base image
 WORKDIR /app # Set the working directory inside the container
 COPY package*.json ./ # Copy package.json and install dependencies
 RUN npm install
 COPY . .  # Copy the rest of the application code
 EXPOSE 3000  # Expose the port that the app runs on
 CMD ["node", "server.js"] # Command to run the application
Docker file explanation:
- FROM: Specifies the base image on which to build your image. In this case, it’s the official Node.js 14 image.
- WORKDIR: Specifies the working directory in the container. All subsequent commands will execute in this directory.
- COPY: Copies files from the host machine to the Docker container.
- COPY package*.json ./: This copies the package.json and package-lock.json files.
- COPY ..: Copies the entire project into the container.
- RUN: Executes a command in the container, in this case running npm install to install the Node.js dependencies.
- EXPOSE: Informs Docker that the container is listening on port 3000.
- CMD: Specifies the command to execute in the container when it starts up (in this case running the Node.js application with node server.js).
Step 3: Build the Docker image
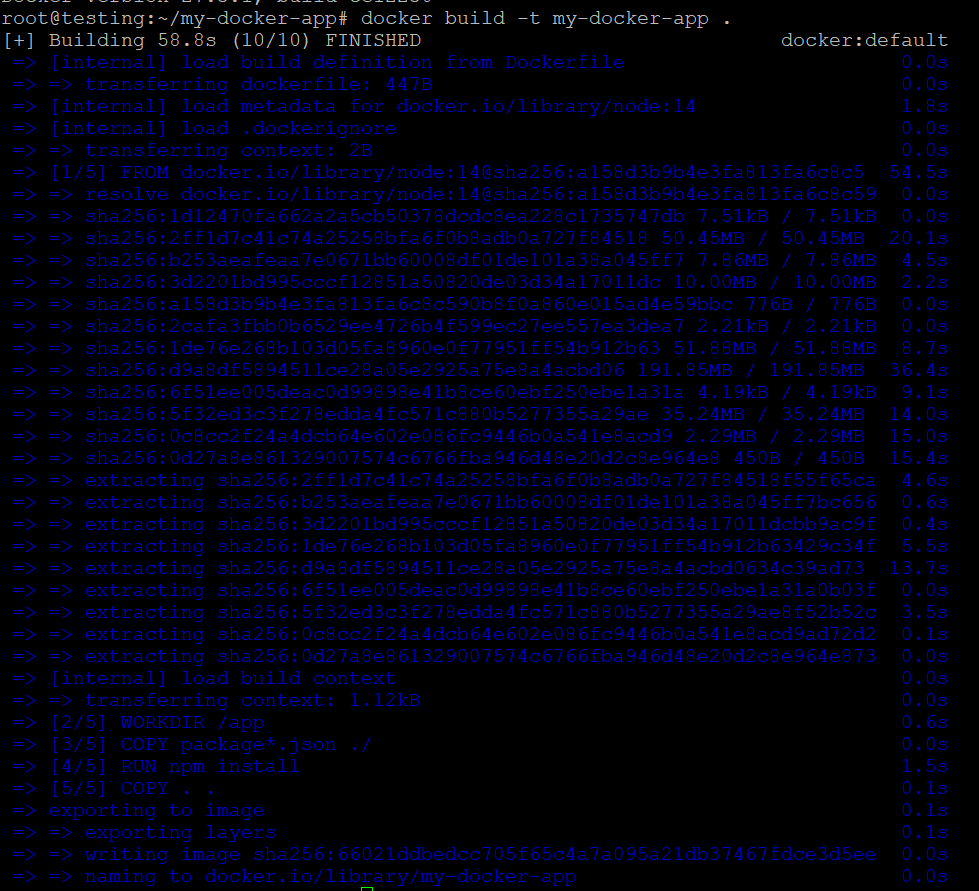
Once you have prepared your Dockerfile, you can build the Docker image using the docker build command.
- In the project directory, run the following command:
Here’s what the command does:
- –t my-docker-app.
- The . button specifies the current directory (where the Dockerfile is located).
Docker will process the Docker file step by step, building the image according to your instructions. If everything is set up correctly, you should see a message that the image was successfully built.
Step 4: Start the Docker container
Once the image is built, you can create and run a container using the docker run command.
- –p 3000:3000: Matches port 3000 on your local machine with port 3000 in the container.
- my-docker-app: The name of the Docker image you created.
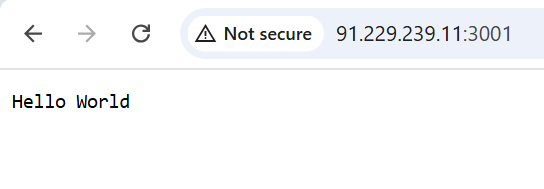
You should see the message: The server is running at http://0.0.0.0:3001/.
To test the application, open your web browser or use curl to visit:

Step 5: Send the Docker image to Docker Hub (optional)
If you want to share your image with others or host it on a server, you can send it to Docker Hub.
- First, sign in to Docker Hub:
- Then tag your image with your username in Docker Hub:
- Send the image to Docker Hub:

Your Docker image is now publicly (or privately) available in Docker Hub.

Best practices for Dockerfile
- Use small and specific base images: if possible, use lightweight base images such as alpine to reduce image size.
- Minimize the number of layers: Each command in the dockerfile creates a new layer. Try to minimize the number of layers by combining commands whenever possible (for example, use && to combine multiple commands into a single RUN statement ).
- Use multi-stage build: this helps reduce the final image size by separating the build environment from the run environment.
- Use caching: Docker caches each layer of the image, so reusing the same commands (such as COPY and RUN) helps speed up subsequent builds.
Conclusion: Dockerize with AlexHost
Dockerfiles make your apps portable and scalable, and AlexHost’s NVMe-powered VPS ensures fast builds and deployments. Create lean Dockerfiles, use multi-stage builds, and secure with UFW. Whether it’s a Node.js app or WordPress, AlexHost’s root access and support make Docker a breeze—containerize your app and deploy with confidence today!


