English
 Русский
  Română
  Deutsch
  Français
  Türkçe
  Español
  Português
  Українська
  български
  Polski
  Indonesia
  中文 (中国)


 on All Hosting Services
How to create Nginx reverse proxy configuration
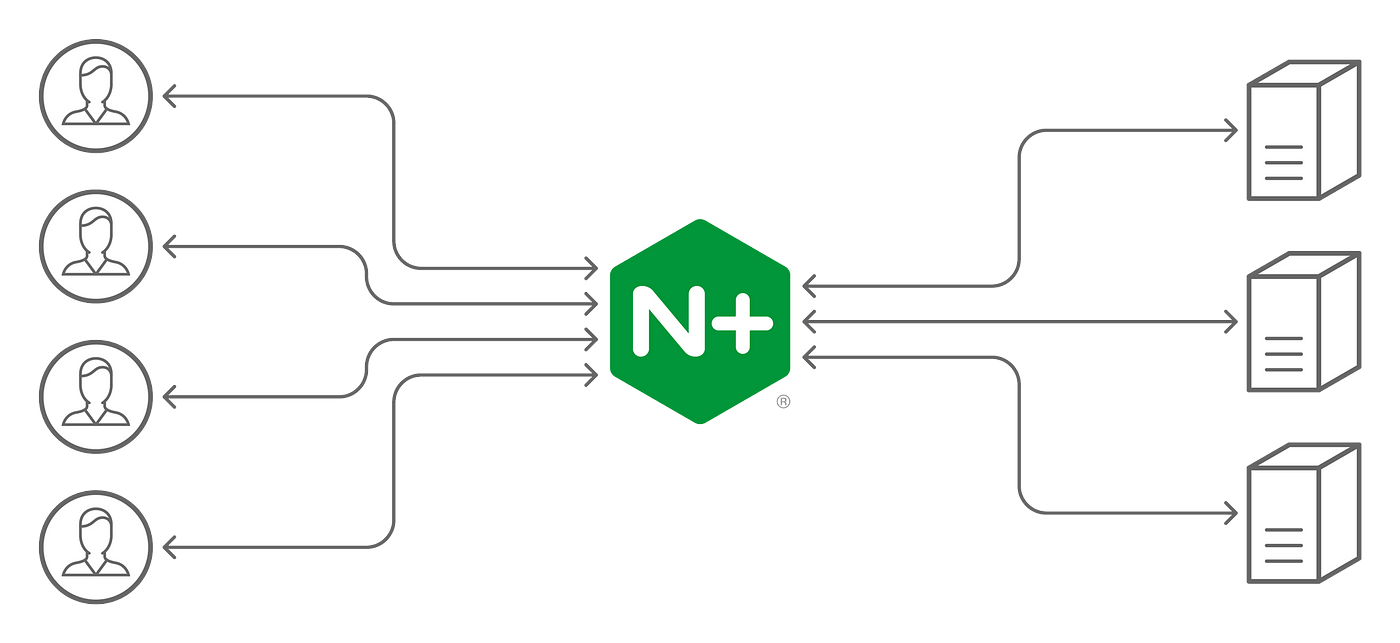
How to create Nginx reverse proxy configuration
Learn how to configure and install nginx reverse proxy properly in your server by using Nginx Reverse Proxy Configuration you can hide your backend IP and protect your servers.
This can be useful to act as caching and many other things.
Unlocking Seamless Website Routing: A Step-by-Step Guide to Setting Up Nginx Reverse Proxy
Dive into the world of Nginx reverse proxy configuration with our comprehensive guide. Learn how to harness the power of Nginx to seamlessly route web traffic, optimize server performance, and enhance website security. Follow our step-by-step instructions to create a robust reverse proxy setup, empowering your website with enhanced scalability and flexibility. Explore expert tips and tricks for optimizing Nginx configurations, ensuring smooth operation and efficient resource utilization. Elevate your website’s performance and reliability today with our ultimate Nginx reverse proxy tutorial.
This is only possible to do using Alexhost VPS or Alexhost Dedicated Servers, in Web Hosting this is not possible. Why not use our new Sweden VPS location?
WARNING: Alexhost doesn’t recommend applying this in production servers, for this kind of purposes, we recommend you use a server for testing purposes. Always backup your current configuration and is advised to have basic knowledge about Nginx.
To create an Nginx reverse proxy, you’ll need to follow these steps:
Install Nginx:
If Nginx is not already installed on your system, you can install it using your package manager. For example, on Ubuntu:
sudo apt update
sudo apt install nginx
Configure Nginx:
Navigate to the Nginx configuration directory. The main configuration file is typically located at /etc/nginx/nginx.conf, and additional configurations can be included from the /etc/nginx/sites-available/ directory.
Create a Configuration File:
Create a new configuration file for your reverse proxy. You can either modify the default configuration file or create a new one. For simplicity, let’s create a new file:
sudo nano /etc/nginx/sites-available/reverse-proxy
Configure Reverse Proxy:
Inside the configuration file, define a server block for your reverse proxy. Below is a basic example:
server {
listen 80;
server_name example.com;
location / {
proxy_pass http://destination_ip_or_domain;
proxy_set_header Host $host;
proxy_set_header X-Real-IP $remote_addr;
proxy_set_header X-Forwarded-For $proxy_add_x_forwarded_for;
proxy_set_header X-Forwarded-Proto $scheme;
}
}
Replace example.com with your domain name and destination_ip_or_domain with the IP address or domain name of the server you want to proxy requests to.
Enable the Configuration:
Create a symbolic link to enable the configuration:
sudo ln -s /etc/nginx/sites-available/reverse-proxy /etc/nginx/sites-enabled/
Test Configuration:
Before restarting Nginx, it’s a good idea to test the configuration:
sudo nginx -t
This command checks for any syntax errors in your configuration files.
Reload Nginx:
If the test is successful, reload Nginx to apply the changes:
sudo systemctl reload nginx
Firewall Configuration:
If you’re running a firewall, ensure that it allows traffic on the ports you’ve configured (e.g., port 80 for HTTP).
IMPORTANT: Alexhost doesn’t allow any kind of malicious activity or illegal activity in our servers, please check our Acceptable Usage Policy (AUP). Alexhost is not responsible for any losses with your current configuration in your server or nginx. Also check our other article about How to Prevent DDoS Attacks in Nginx, can be useful for many situations.
That’s it! Your Nginx reverse proxy should now be set up and forwarding requests to the specified destination server. Make sure to point your domain to the Nginx server if necessary.